Friday, May 23, 2014
Father's Day Tie Box
Here is a tie box I created for the Pazzles Craft Room. Its the perfect box for a non-tie gift! You can get the file in the Pazzles Craft Room.

Embellishment Pack
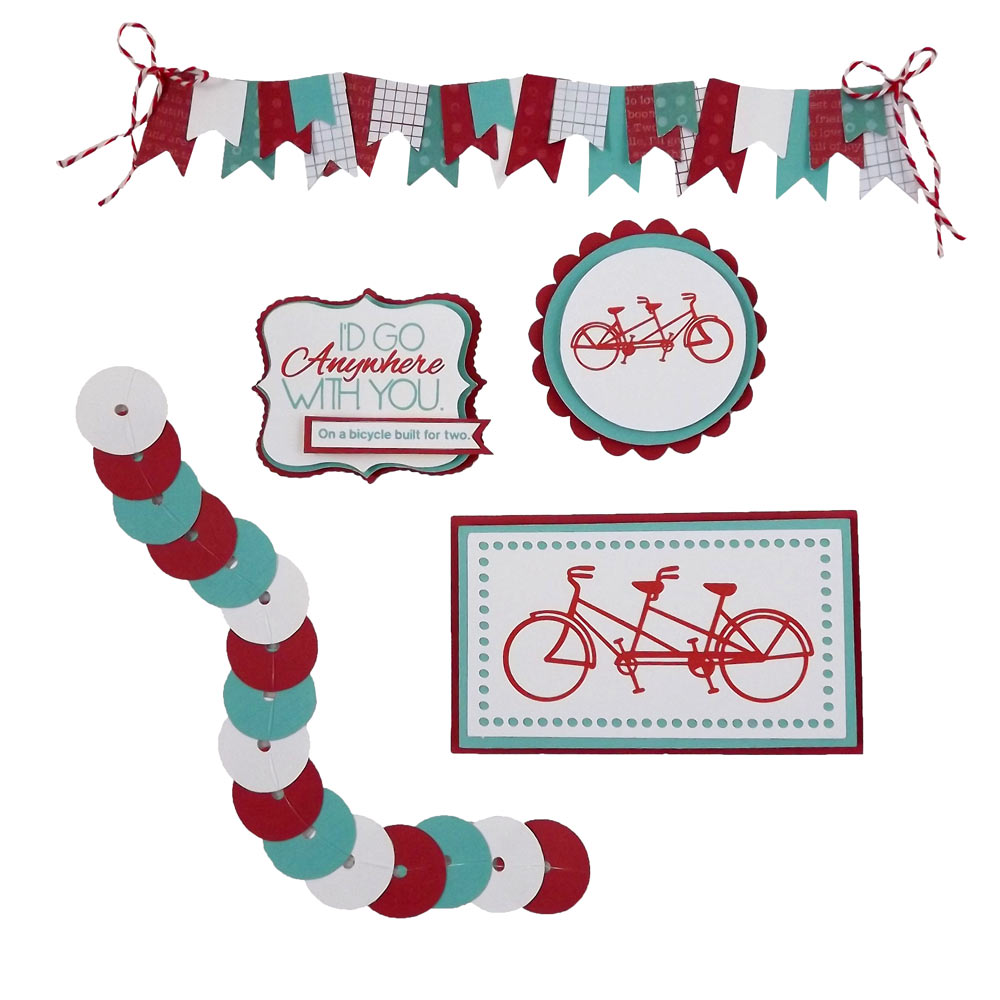
I love to bike ride. It’s so nice to breathe the fresh air. It makes me feel so carefree… until I have to pedal up a steep hill! I have always loved the novelty of tandem bikes and wished I had one…so someone else could pedal! I made five different embellishments to help me savor the feeling I get when I ride my bike! I hope they will inspire you and help you get your scrapbooking page or card put together in a snap. Though I chose a bike theme, these embellishments can be turned into any theme you can imagine. Instead of using the quote, “I would go anywhere with you. On a bicycle built for two”. You could say “If friends were flowers, I would pick you”. Then change the pictures of the bicycles to pictures of flowers. For the cutting files and instructions just go to the Pazzles Craft Room.
Monday, May 19, 2014
New Pazzles Invue and Pro 2014 software

This is going to be fun and exciting class. I will be showing you some of the features that are currently in the InVue software that will be in the box of every new Inspiration Vue machine when it ships. I will also be showing you some highlights of the Pro 2014 software that is going to be available as an optional add on to your Inspiration Vue for $50.00 (or buy outright for $60.00)
Join us starting Sunday Morning at 5am, 1pm and 7pm (all times are USA Central, Chicago Time). If you are not sure what time that is in your location, go to the World Time Conversion site to see what time you will join us.
I was blown away with both software offers but I must say I lean towards the Invue as it seems to be a little more user friendly and has some great features in it! That being said there are a few features I can see myself using over and over in the 2014 pro, and since I am already comfortable with the 2010 pro the new features in the 2014 pro are a big plus. I can see myself switching back and forth between the two on a lot of projects, pulling features from both.
If you haven't seen the video comparison of both softwares check it out here!
http://www.pazzles.net/wordpress/klos-classroom-archives
Tuesday, May 6, 2014
MACHINE EMBROIDERED CANVAS

I made this for one of my daughter's teachers who is a photographer in addition to being a teacher. I made it with a couple of files I purchased from Urban Threads...love that site!
I took the canvas off the frame by removing the staples on the back. I did not hoop my canvas as I thought it would leave hoop marks even after re-stretching it back onto the frame. So I printed out my design from my embroidery software, cut it out and sprayed the back with Dritz Basting Spray. I centered it on the canvas and gently adhered it. Then I loaded my hoop with tearaway stabilizer. If you decide to do a denser stitch out I would us leave-in stabilizer. I haven't tried to stitch out a more traditional embroidery on canvas yet. I plan on trying it, but I wonder if the canvas will pucker or even support the denser stitching. Not sure, I will find out. Once I hooped my tearaway I sprayed it with Dritz Basting Spray and loaded it onto my machine. Then I took my canvas with the printed version of the design adhered to it and put the needle through the center cross bars of the print out. I made sure my canvas was straight and then pushed down on it gently to adhere it to the stabilizer. (Honestly, I use this technique every time I embroider. I never hoop my projects) Then I just hit go and it went...lol. It stitched out perfectly without a hitch. After the design was done stitching out I removed the hoop from the machine and cut all my jump stitches. Then I simply used an electric staple gun to re-wrap the canvas around the frame. It was easy, as the fold lines were already in place and I used the previous staple marks to re-staple. I think it turned out great! I am making a bicycle one for my daughter's room next!
Thursday, May 1, 2014
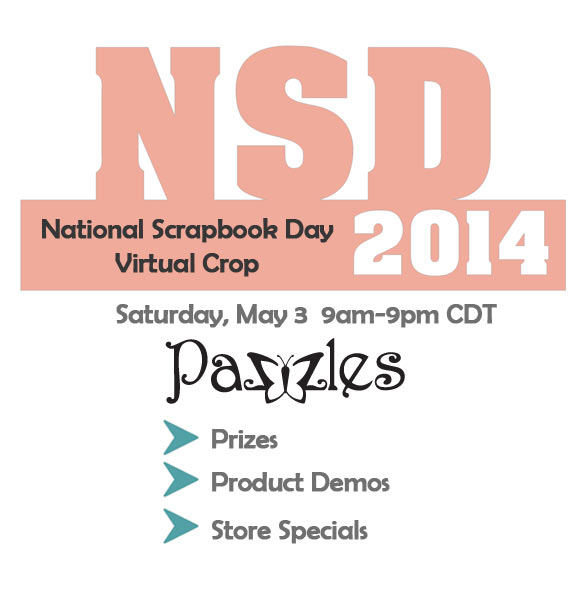
NATIONAL SCRAPBOOKING DAY!!!! WOOT WOOT!!!
Subscribe to:
Posts (Atom)