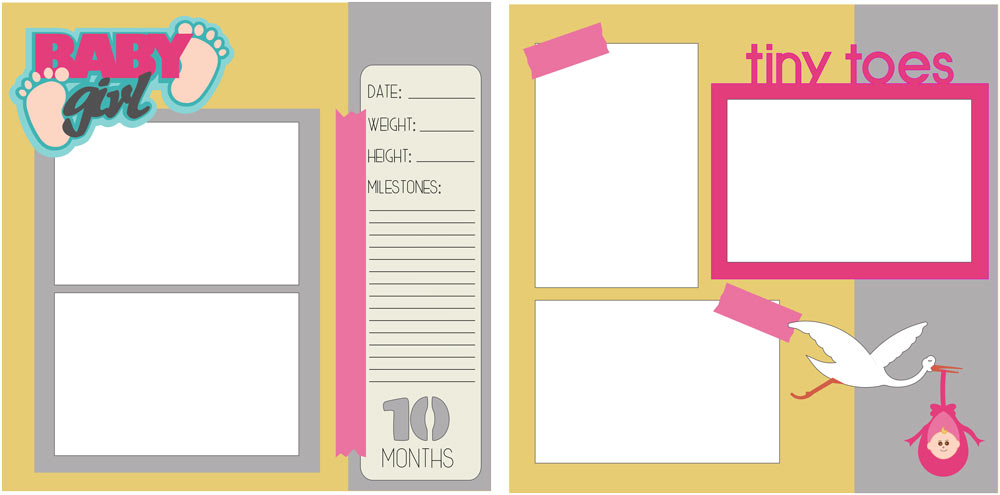
One of the cool new features in the InVue software is our new Pazzles Project Patterns. You have to see this in action to understand the full possibilities, but let me assure you-it is awesome! The InVue software comes with four Project Patterns and we will be adding more each month. Essentially you open a Project Pattern and you see a sketch (layout or card). Several pieces of the sketch are “replaceable”. You click on the replaceable shape and then select a predesigned coordinating image from a drop down menu. The image automatically replaces the selected shape and resizes the new shape to fit perfectly. Here is an idea of what can be done. When you open the project it will look like this:
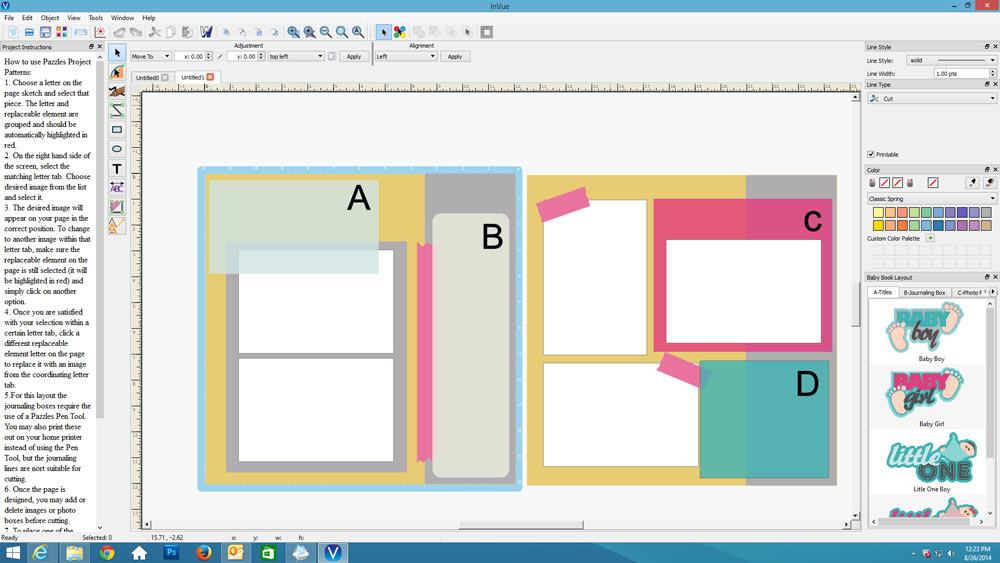
All four of the lettered shapes are replaceable. You click on one of the letters and it will be highlighted in red.
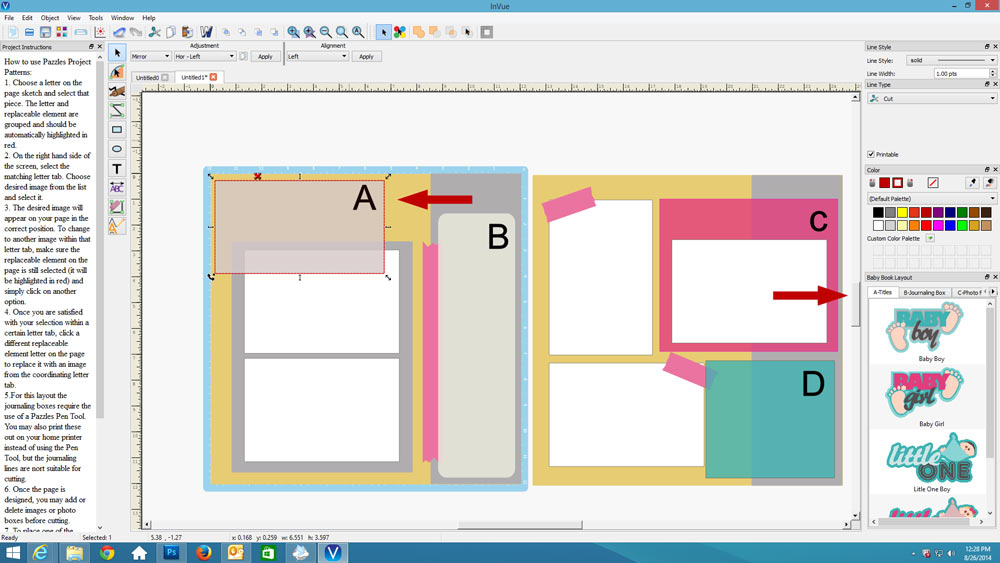 In this case, I have selected A and you can see my replaceable shape is red. I now look over to the tabs on the right side of the page and find the A tab. I simply click on which ever image I would like to use and the software places it in the correct position for me.
After replacing the four replaceable pieces with images I have this, a complete layout.
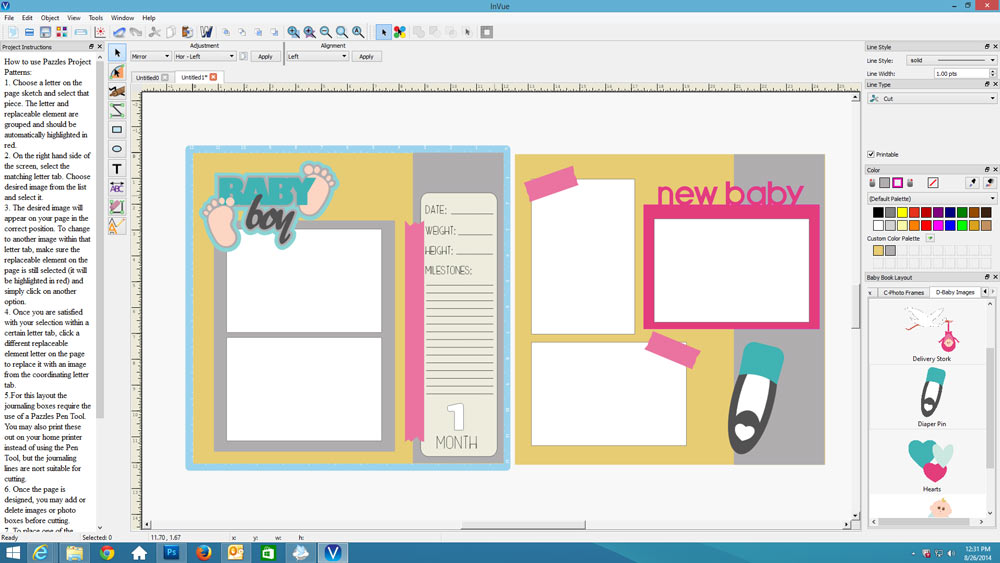
You can mix and match the pieces for endless combinations.
Today we have a brand new Project Pattern for you, a two page Baby Layout. For those of you using the InVue software, simply download the zip file and extract the files. Next locate the Pazzles InVue software file on your computer. Within the File Explorer (not the software) locate Pazzles>Images. Copy the entire Baby Book Layout file into this location. When you open your InVue software and select File>Open Project you will now see the Baby Book Layout as one of your project options.

